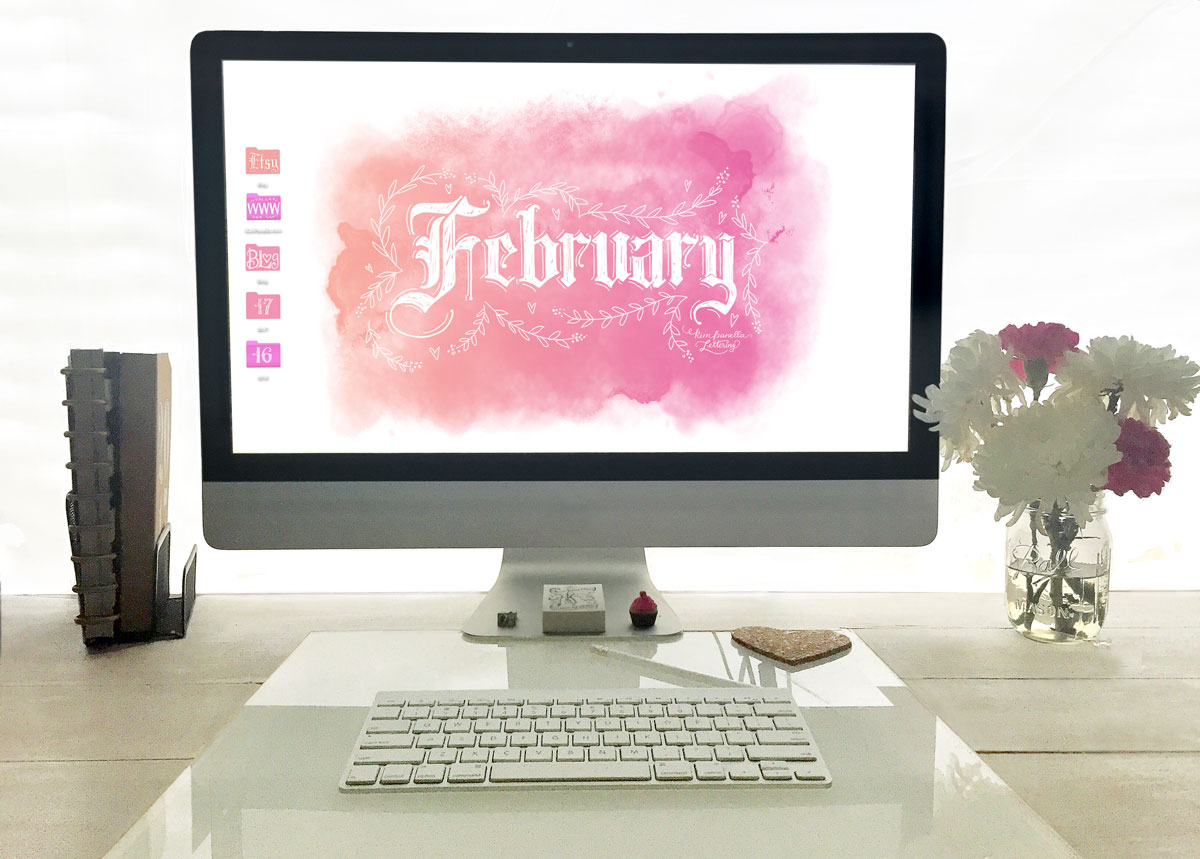
I have been prettying up my desktop in preparation for February and realized that all you beautiful people out there probably would love to do the same. BTW I'll have a FREE wallpaper for download in the next couple of days. I'll announce when it's available on Instagram and Facebook so if you haven't already, hop in and follow along so you don't miss it!
So with the new year upon us I decided to spice up the folder icons I keep on my desktop just to help them stand out a little more and make them pretty of course. I love that they are very easy to spot in finder among the standard blue folders which is quite nice. In addition to the color change I also wanted to add pretty labels to the folders so they call out what's stored inside. This project is super easy, makes finding folders visually easier and adds pizaz to your desktop!
Here goes!
I used Photoshop, but any editing software will work and a Wacom Tablet for illustrating the folder labels.
Start
Select the Folder you wish to modify by clicking it once to highlight it.
Right Click on the Folder to bring up the Folder Options Menu and choose Get Info.
The below Get Info Menu will open.
Highlight, by clicking once, the tiny Folder Icon in the top upper left of the Get Info Menu and copy it by pressing Command C or ⌘ C on your keyboard.
Open a new Photoshop file. Since you have stored a copy of the Folder to your clipboard with the ⌘ C command Photoshop should preset the size of the new files canvas to accommodate your copied image. Below is what you should see. Select OK.
Paste the Folder Icon into the new Photoshop file by selecting Command V or ⌘ V on your keyboard. You should now see the below Folder icon. If not, you missed something so retrace your steps and try it again.
Once you have the Folder placed into to Photoshop you can then start playing with colors and adding illustrations! To keep things straight. Name the layer with the Folder on it "Folder" and create a new layer and name it "Color Layer". I turned off the Backgound layer but you don't have too. Highlight the Color Layer.
Leave the Blend Modes set to Normal for both Folder and Color Layer.
With the Folder Layer highlighted hold down Command or ⌘ key on your keyboard and left click the Brush Icon within the Folder Layer this will select only the Folder Icon and you will see what is called marching ants around the Folder. This is how we choose what areas will be affected with the color changes. Below is what your selection will look like.
Now select the Color Layer and choose Solid Color from the Adjustment Layer Menu.
The Color Menu will appear and just choose the color you wish. Once you have decided on your color select OK and then drop the Opacity to around 70% so you can see the folder details. If those aren't important to you then no worries. You've now changed your folder color.
Now take it up a notch and create an extra layer and play with adding illustrations, lettering or whatever your heart desires.
The final step is to Select All and Copy Merged from the Edit Menu unless you want to merge all Layers into one and just copy that one layer. Highlight the small Folder Icon that was in the Folders > Get Info Menu and Command V or ⌘ V on your keyboard. You should now see your new Folder Icon! You can now close that menu and move on to the folder you wish to change!
Of course there are multiple ways to do anything and Photoshop is no exception. And who says you even have to use Photoshop. Work in what you are most comfy in. (For me it's Pajamas and Photoshop for the Win!) :) And if you're new to Photoshop this may seem like a loooooooong process but trust me once you do this a couple of times you'll quickly get the hang of it.
Enjoy decorating your desktop and don't forget to check out the Shop for unique Love inspired art prints, stickers and more! Perfect for Valentines Day!
